If you are running Wizarr locally, you will need to make use of a Dynamic DNS service and forward your ports on your router to make it available to the wider internet. If you are behind a NAT, you will have to use a tunnel. Since this can be somewhat complex depending on your level of expertise, you might want to consider running Wizarr on an externally hosted VPS as it will simplify the process.
First, make sure you have installed Docker and it's already running. You will now proceed to run the following command inside the directory you wish the database to be stored:
docker run -d \
    --name wizarr \
    -p 5690:5690 \
    -v ./wizarr/database:/data/database \
    ghcr.io/wizarrrr/wizarr:latest
After running this command, the latest image will be pulled and wizarr/database will be created in the directory you've cd'd into. If Wizarr installed with no errors it should show up when you run the docker ps command. You should also be able to access it on http://localhost:5690.
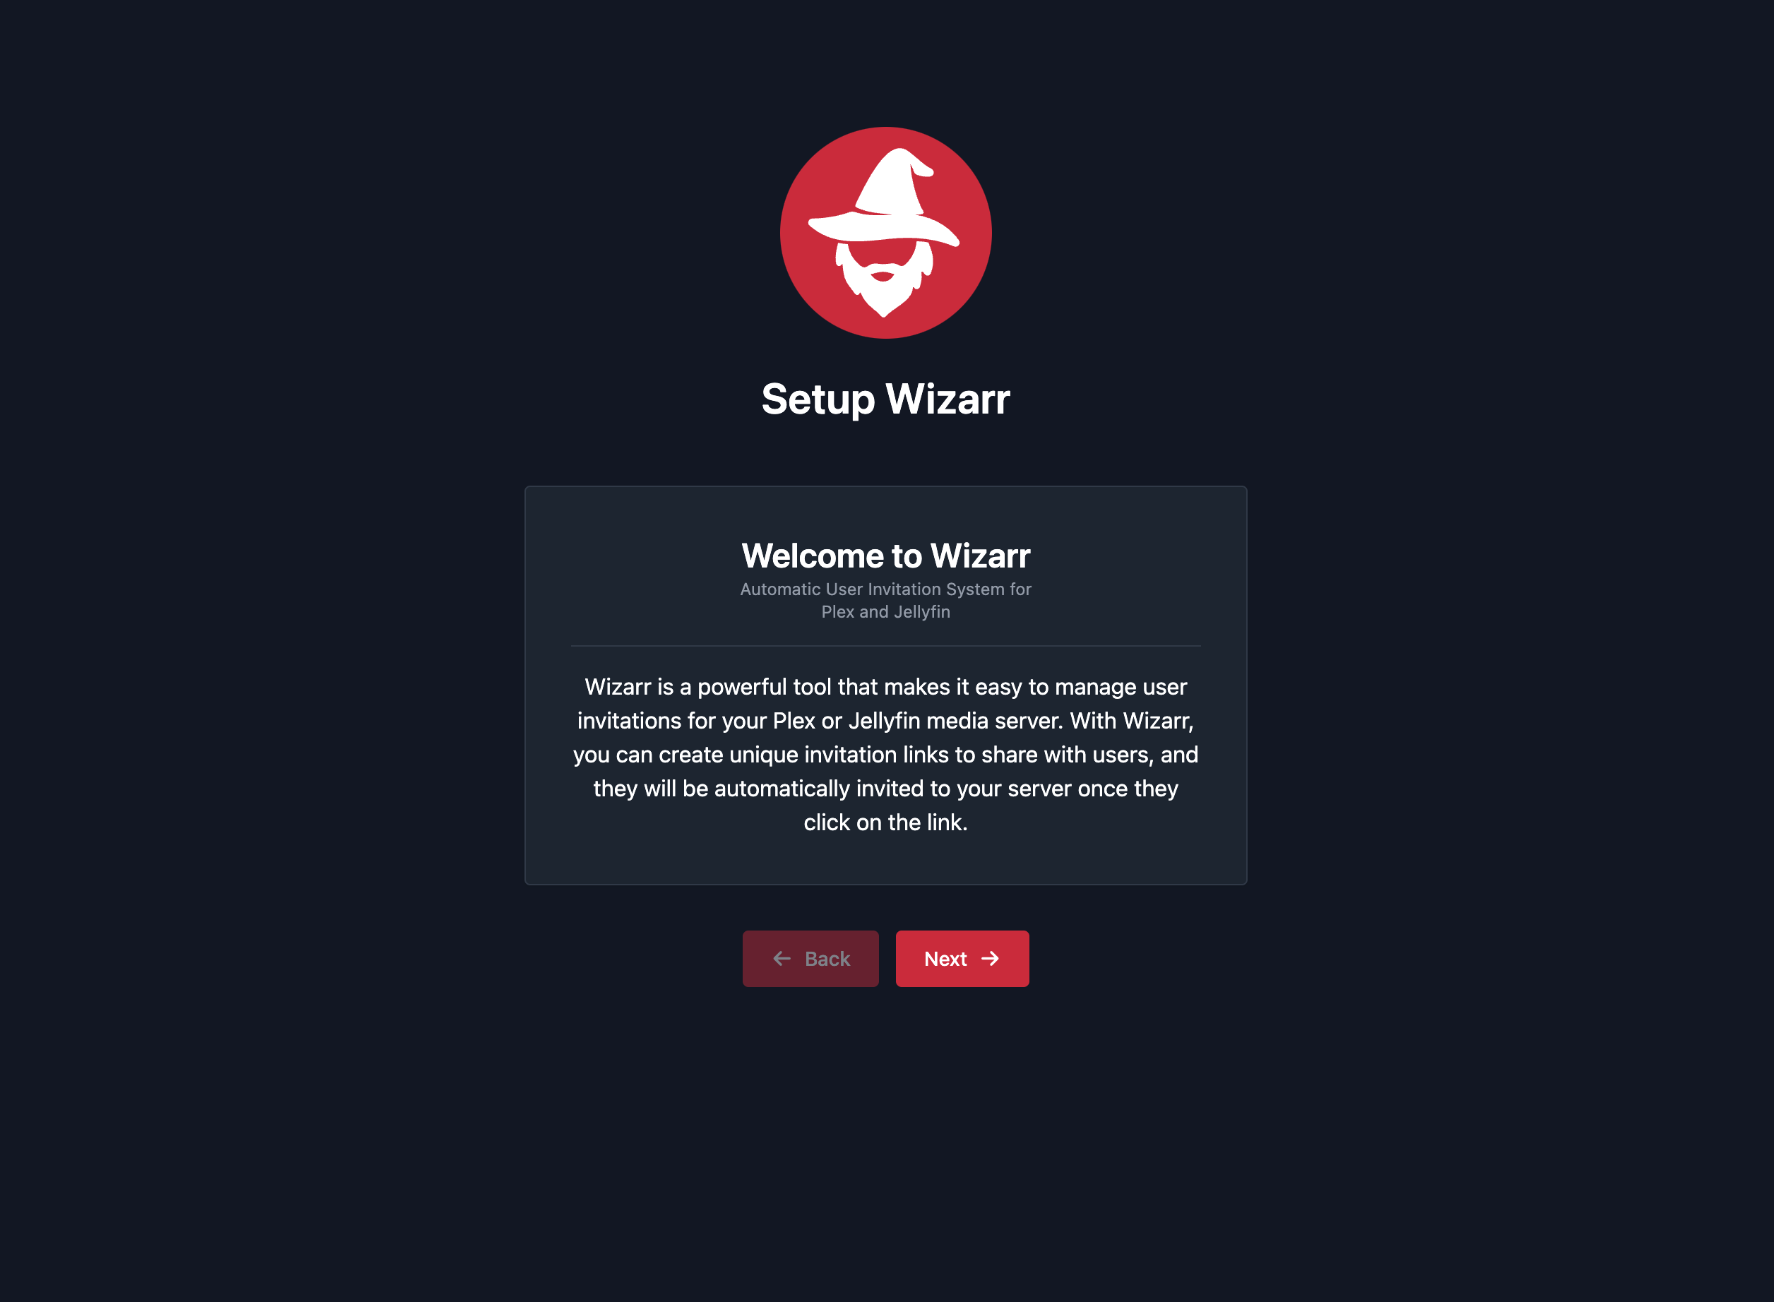
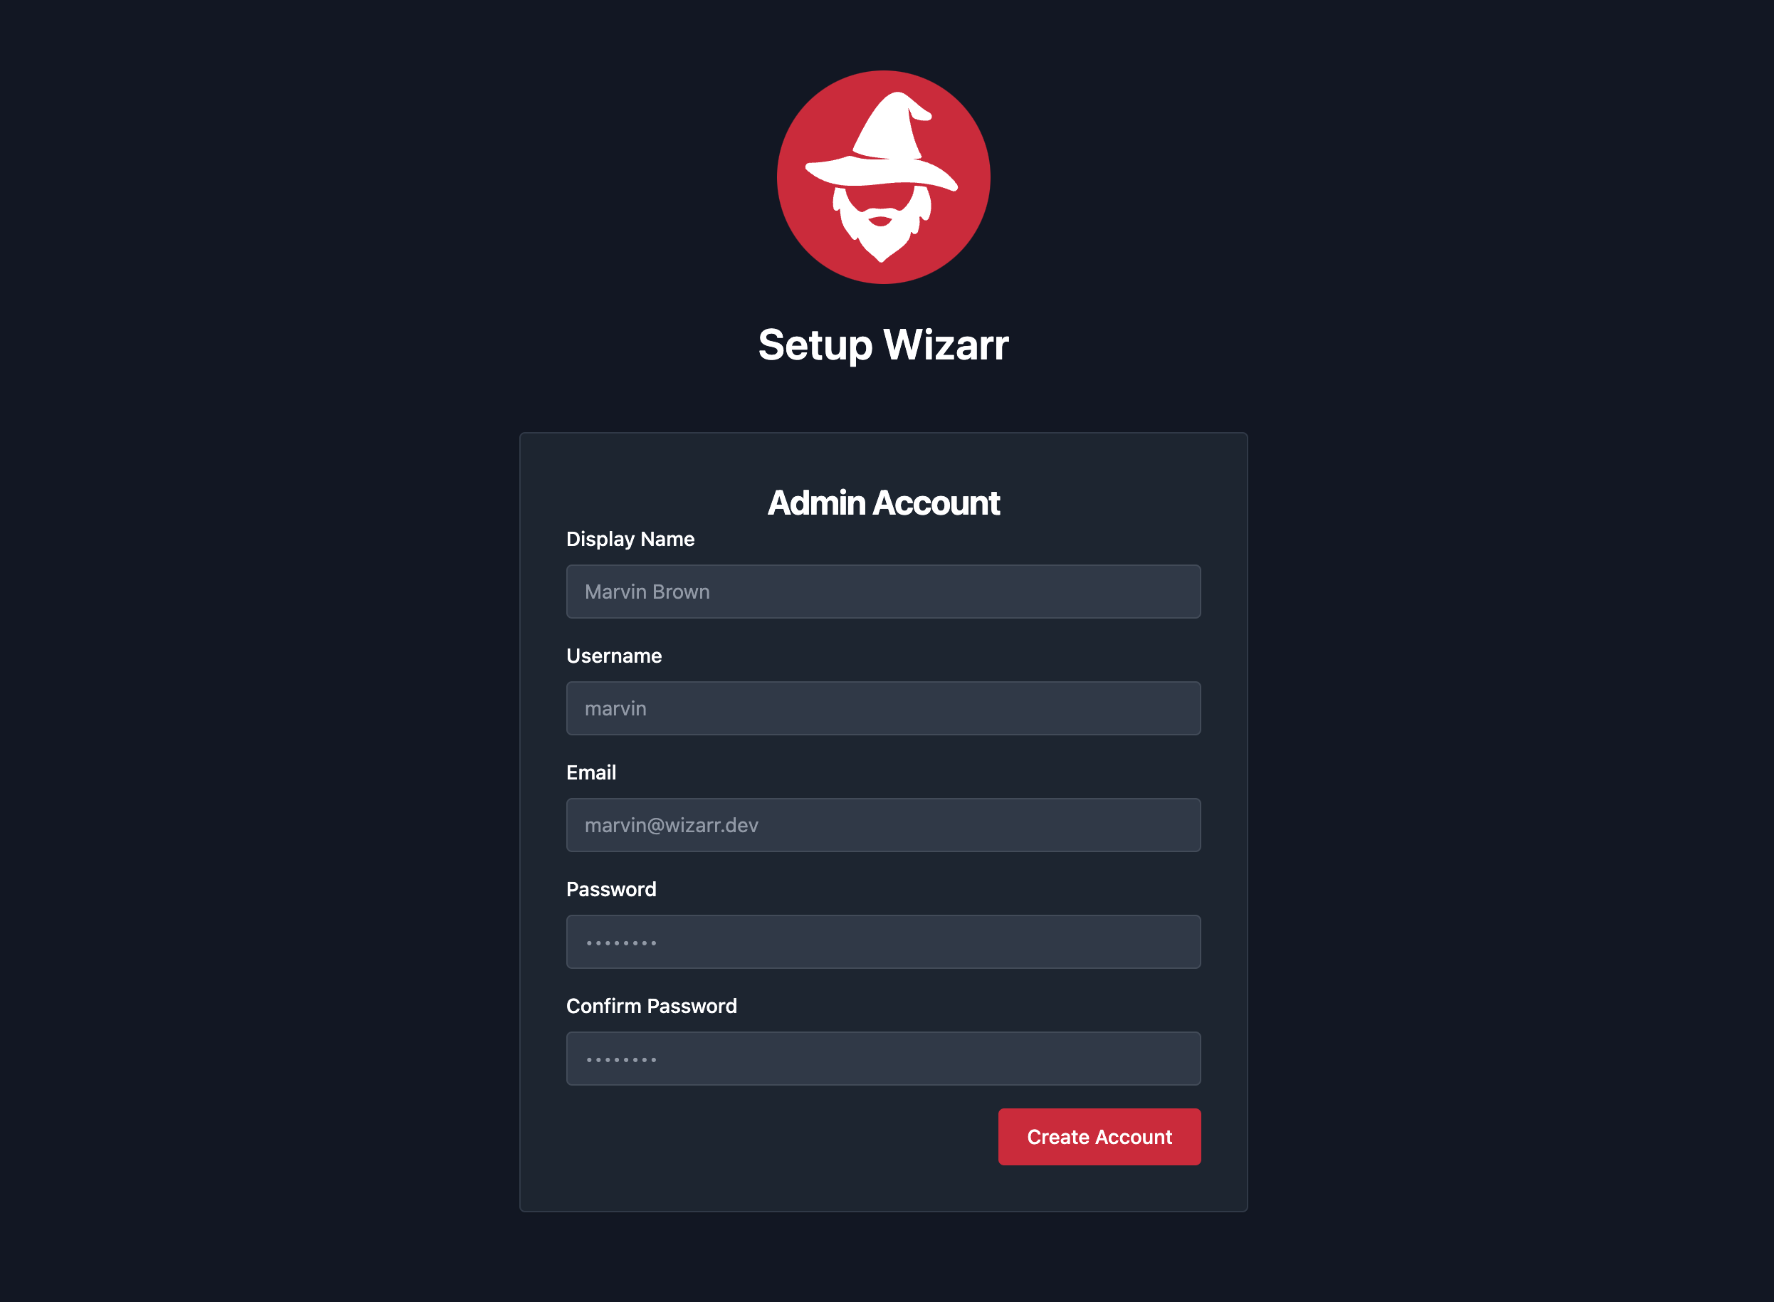
Upon first visiting http://localhost:5690 you'll be greeted with a welcome screen. Click next until you reach the Admin account creation page and enter your details.
Here we need to configure the media server, this can be either Jellyfin or Plex, depending on your setup.
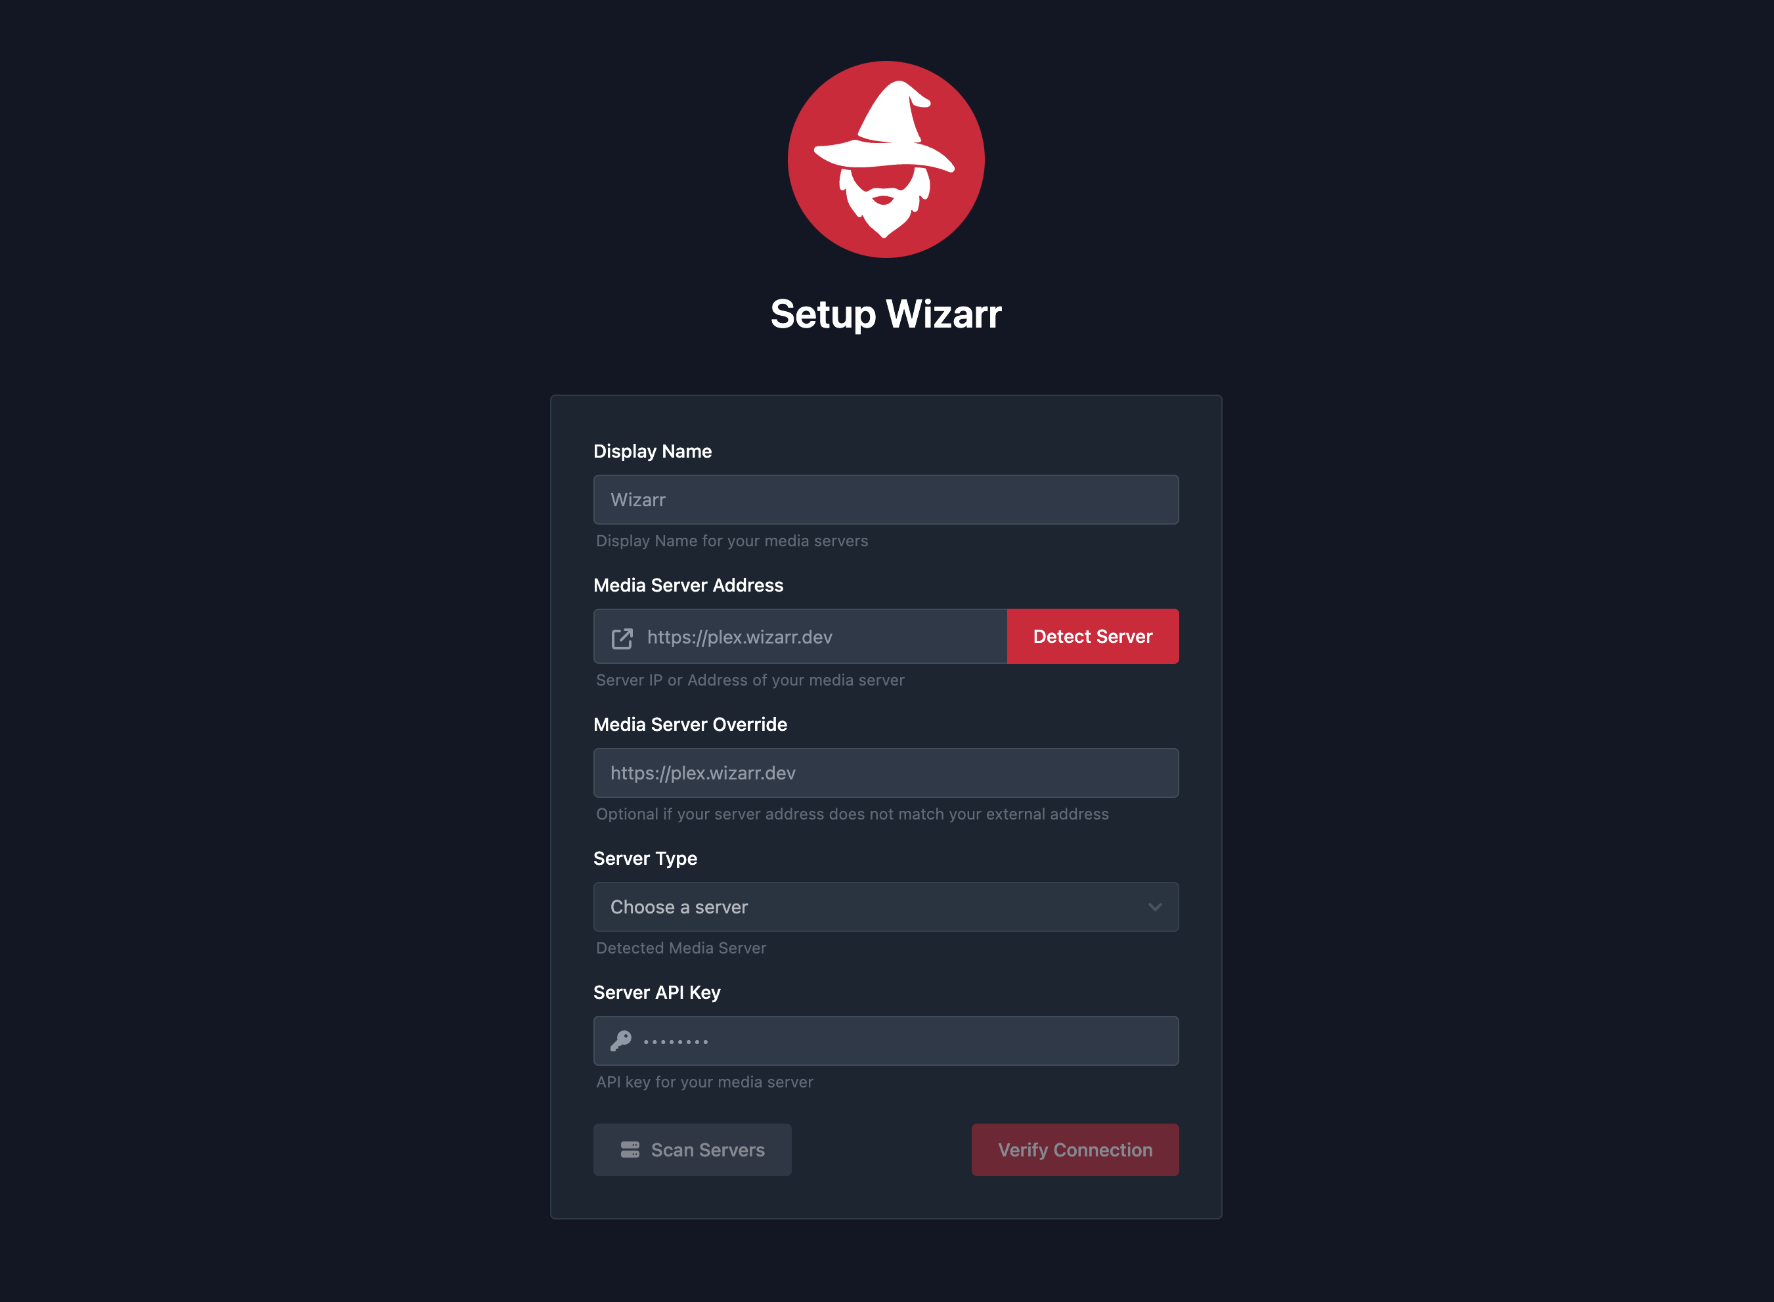
Make sure you include http:// when typing in your server address. You can use either http://mylocalip:32400 or https://myserverdomain.com if you're using a domain. You can also use an override address if you need to.
For your API:
- Jellyfin you would go to
Dashboard > API Keys. - Plex you will need to figure out your Plex
token. You can see how to do it here.
If your media server is hosted inside Docker on the same machine that Wizarr is running on then you can take advantage of Dockers internal DNS routing.
Docker will use your media servers container name as a host address, if you look in the below screenshot you will see that I ran a docker ps command and in the last column of the result you can see the container names. For my plex container it's named plex.

So we can use this address to point to our media server, you will see in the below screenshot I have set the Server URL to http://plex:32400.
http://- We want to use an unencrypted connection to Plex, this is secure because we are on a sub network inside of Docker.plex- This is our docker container name for the chosen media server, this could be any name that you chose when creating your docker container.:32400- The port that Plex is running at, Jellyfin would use8096for the port number, so if your Jellyfin container name wasjellyfinyou could use the Server URLhttp://jellyfin:8096
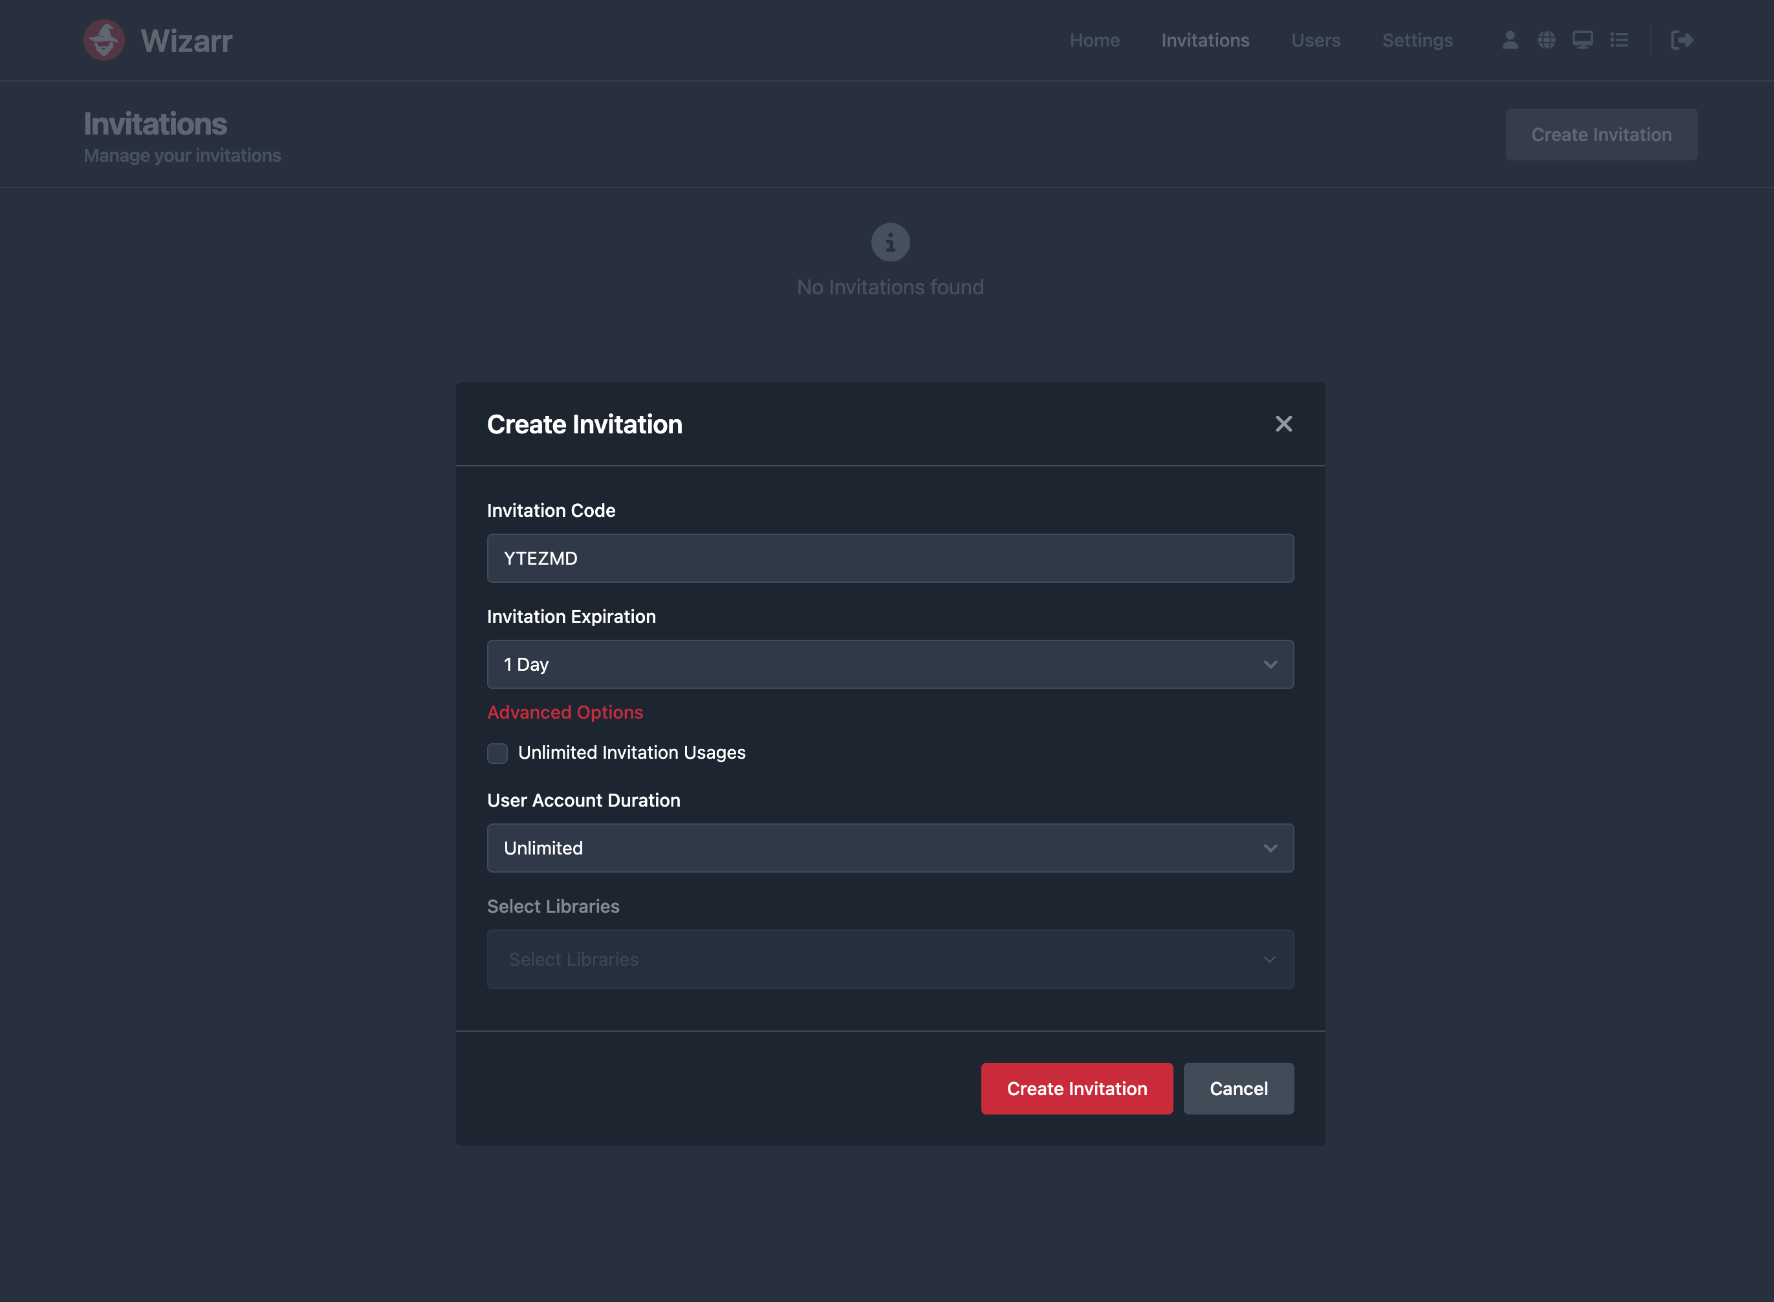
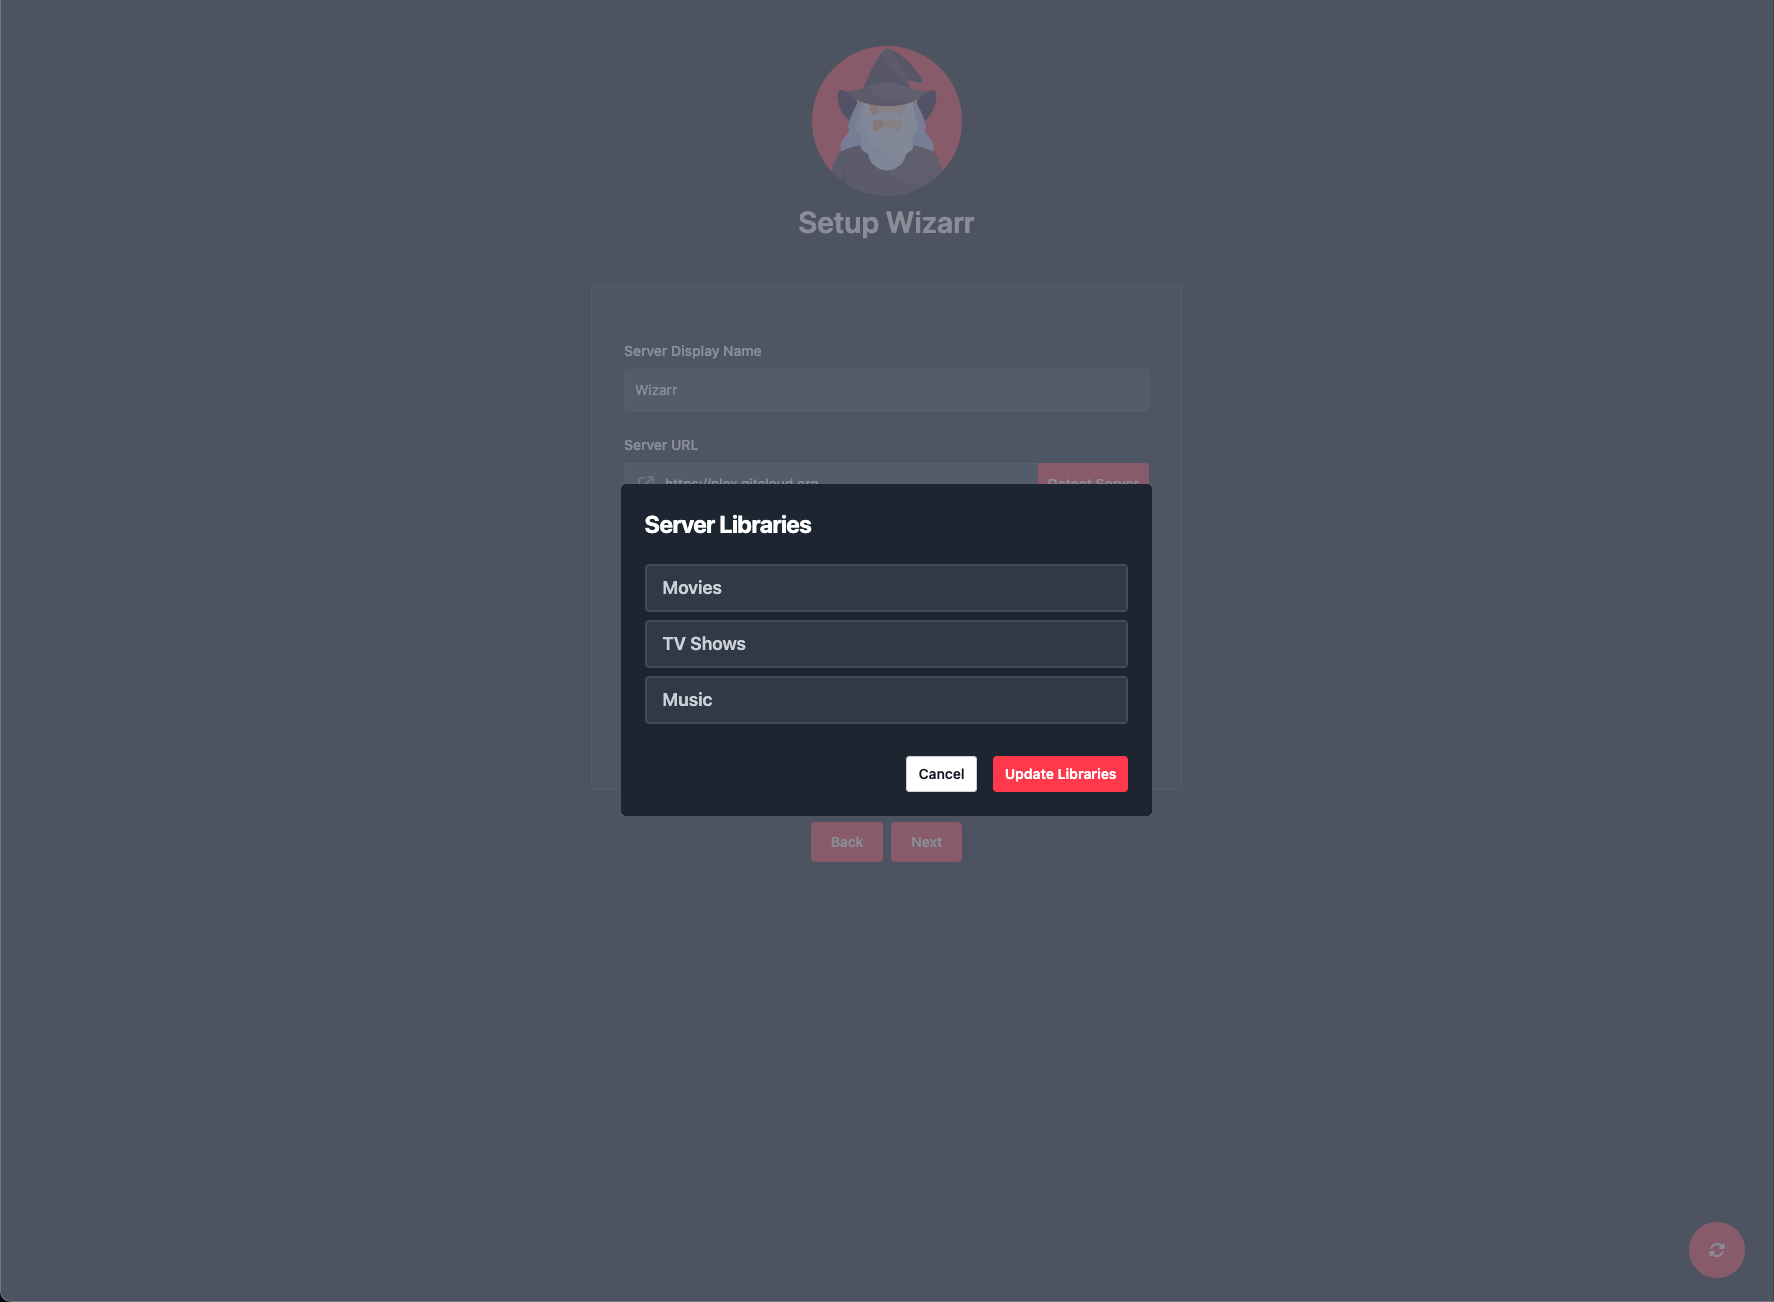
If your Media Server was successfully detected you will be prompted to Scan Libraries, which will allow you to select which Libraries you wish to be included by default in your invitations. If you don't select anything, your users will have access to all libraries upon joining your server.
After saving your Libraries you will be prompted to login to your Wizarr dashboard. You will then be able to proceed to create and adjust your invitation settings accordingly.