Calendly integration for React apps

![]()
Depending on the package manager you are using for your project, use npm install or yarn add to include react-calendly in your react app.
npm install --save react-calendlyyarn add react-calendlyEnsure that React has been included into your page or component. Then, you can import any of the following components from the "react-calendly" package:
Importing the Inline Embed, for example, would look like this:
import React from "react";
import { InlineWidget } from "react-calendly";
Then, include the InlineWidget component in your application to be rendered. The inline embed has one required prop, the url prop. The url prop is the link to your scheduling page:
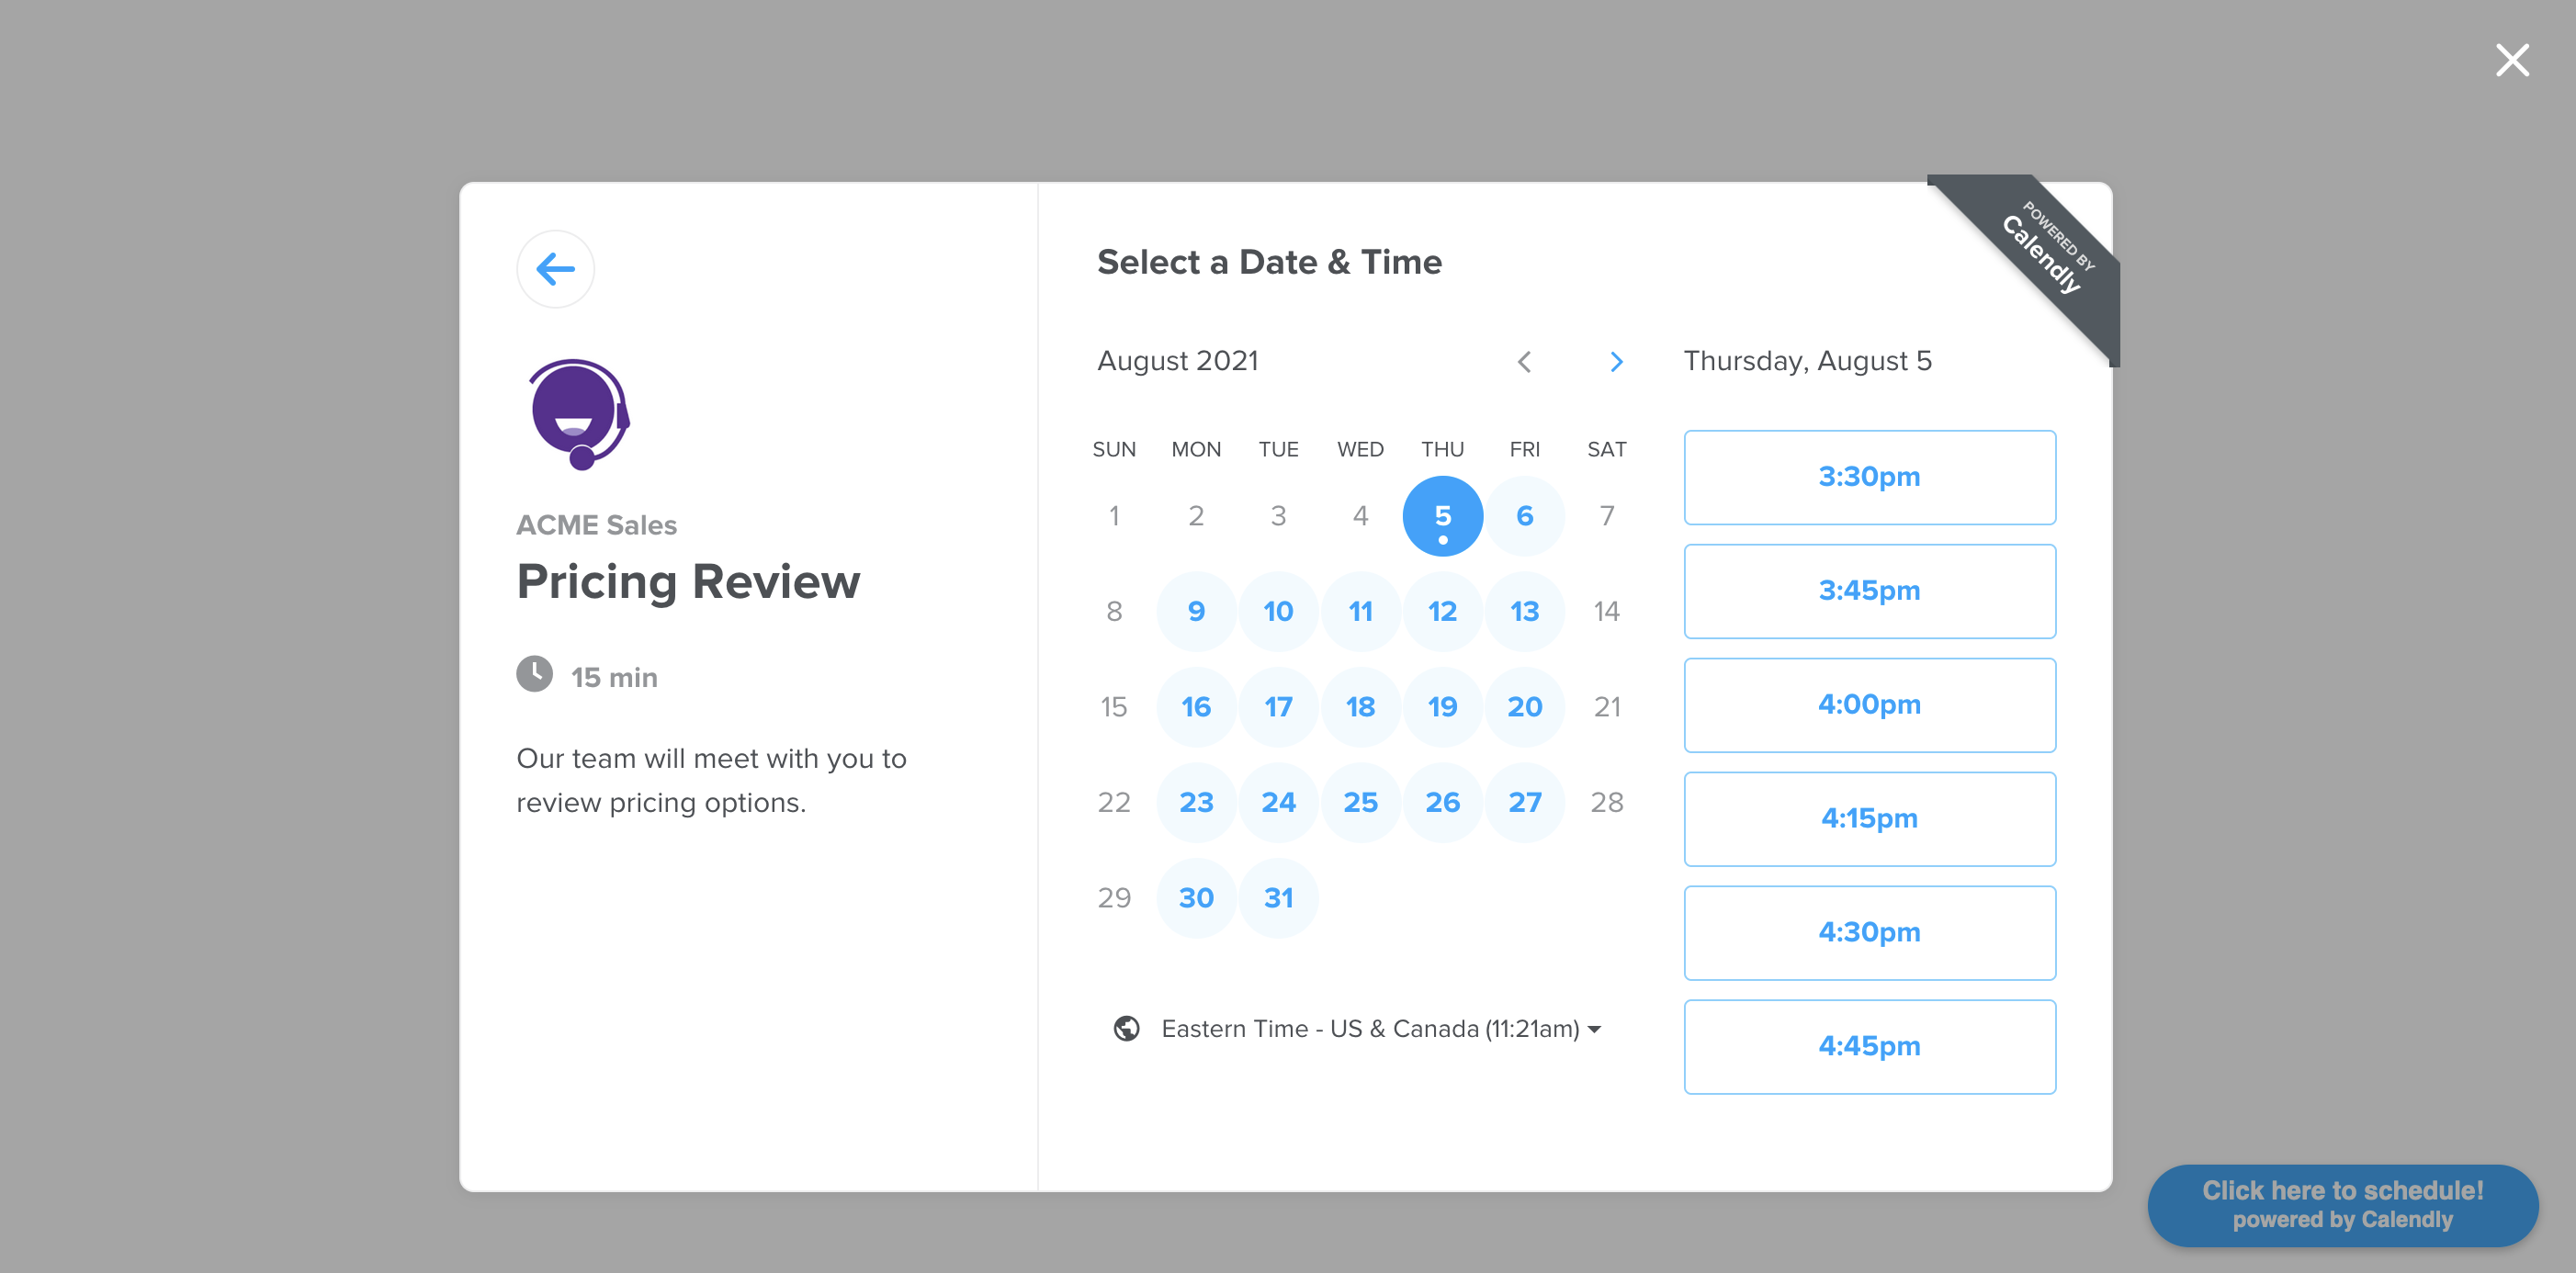
<InlineWidget url="https://calendly.com/your_scheduling_page" />The final code would look something like this when you are done:
import React from "react";
import { InlineWidget } from "react-calendly";

const App = () => {
  return (
    <div className="App">
      <InlineWidget url="https://calendly.com/your_scheduling_page" />
    </div>
  );
};

export default App;You can also take advantage of using optional props on the component(s) such as including a defined height, color customization options (available on Pro plan only), utm parameters, pre-filling custom questions, etc. Here are the optional props you can use with the inline embed:
styles={{
  height: '1000px'
}}pageSettings={{
backgroundColor: 'ffffff',
hideEventTypeDetails: false,
hideLandingPageDetails: false,
primaryColor: '00a2ff',
textColor: '4d5055'
}}prefill={{
email: '[email protected]',
firstName: 'Jon',
lastName: 'Snow',
name: 'Jon Snow',
guests: [
'[email protected]',
'[email protected]'
],
customAnswers: {
a1: 'a1',
a2: 'a2',
a3: 'a3',
a4: 'a4',
a5: 'a5',
a6: 'a6',
a7: 'a7',
a8: 'a8',
a9: 'a9',
a10: 'a10'
},
date: new Date(Date.now() + 86400000)
}}utm={{
utmCampaign: 'Spring Sale 2019',
utmContent: 'Shoe and Shirts',
utmMedium: 'Ad',
utmSource: 'Facebook',
utmTerm: 'Spring'
}}For the page settings to work, you'll need to pass in a url prop that is associated with a Calendly account on the Pro plan.
react-calendly provides an openPopupWidget function that can be used to trigger the pop-up scheduler.
import { openPopupWidget } from "react-calendly";

const CustomButton = ({ url, prefill, pageSettings, utm }) => {
  const onClick = () => openPopupWidget({ url, prefill, pageSettings, utm });

  return <button onClick={onClick}>Custom Button</button>;
};The CalendlyEventListener onEventScheduled prop receives an event with the following data structure:
{
  event: "calendly.event_scheduled",
  payload: {
    event: {
      uri: "https://calendly.com/api/v2/scheduled_events/AAAAAAAAAAAAAA"
    },
    invitee: {
      uri: "https://calendly.com/api/v2/scheduled_events/AAAAAAAAAAAAAA/invitees/AAAAAAAAAAAAAA"
    }
  }
}
If you are using Calendly's v2 api you can reference the event/invitee URIs included in the event payload to retrieve additional information about the event and/or invitee record.
MIT © tcampb